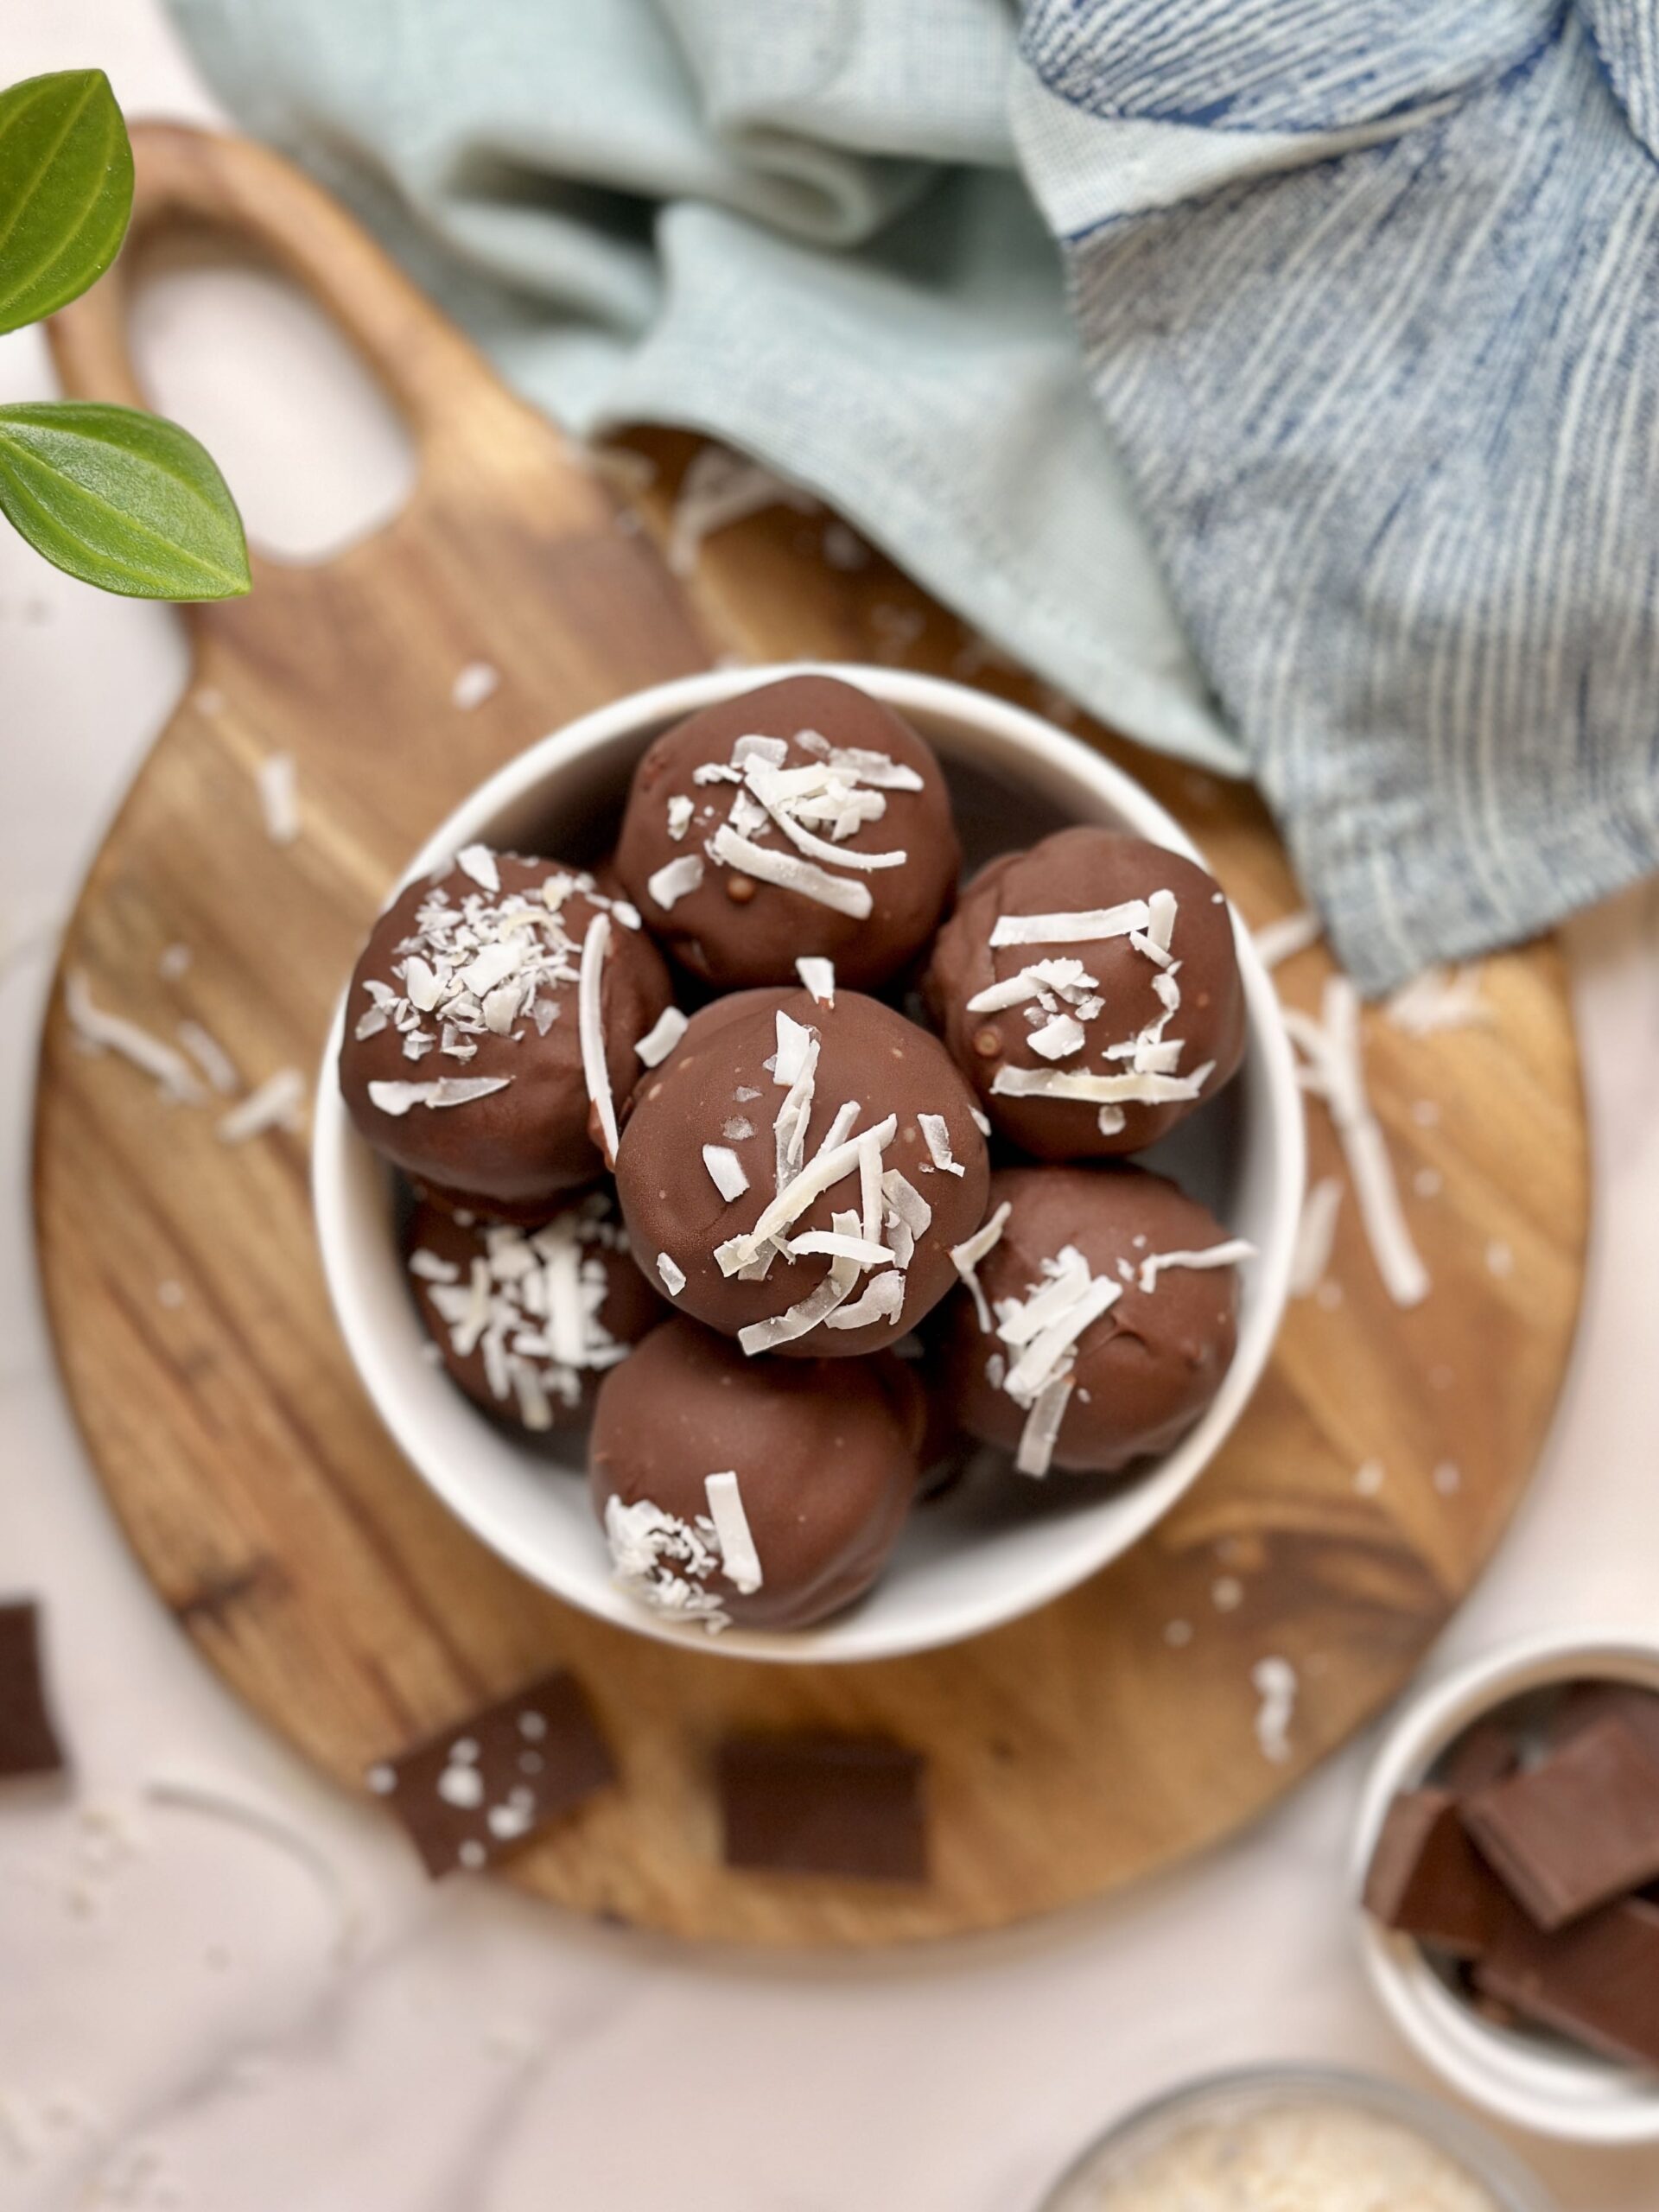
Welcome into a world where delicious treats are also your go-to wholesome companions. When those cravings strike, there’s no need to dash to the store for sugary candy bars. In my kitchen, having homemade treats like my Vegan Coconut Balls readily available is a game-changer. With these, you’ve got a stash of goodness right in your fridge or freezer, ready to satiate your snack desires without the post-treat slump.
Jump to Recipe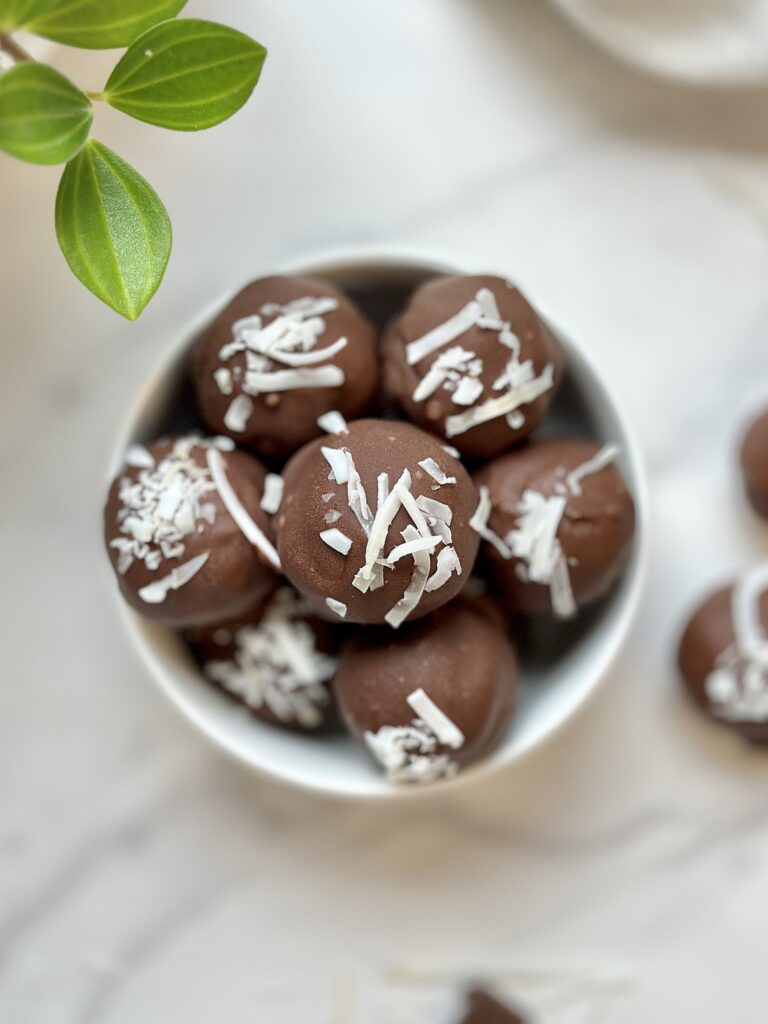
The Magic of these Vegan Coconut Balls
Ah, the coconut – nature’s tropical gem that has us all questioning: Is it a nut or a fruit? Well, it’s technically a fruit, but it sure behaves like a nut in terms of versatility and flavor! Beyond its crunchy sweet flavor, coconut brings a lot of health benefits to the table. Packed with healthy fats, fiber, and essential nutrients, it’s a true superstar ingredient that gives a rich creaminess to a lot of dishes.
Easy to Make
Now, let’s talk about simplicity in the kitchen. My Vegan Coconut Balls recipe is what all recipes should be: easy and quick. With just a handful of pantry-friendly ingredients – think creamy coconut cream, shredded coconut, chocolate, and a touch of maple syrup – you’re armed to whip up a batch of these scrumptious treats whenever the craving strikes. Having these staples on hand means dessert can be a reality in minutes, without a hitch.

How to Make these Coconut Balls:
1: Gather Your Ingredients
- Ensure the full-fat coconut milk can has been refrigerated overnight, allowing the cream to separate from the liquid.
- Scoop out 150 grams of the separated cream part of the coconut milk and place it in a mixing bowl.
- Add 200 grams of unsweetened thinly shredded coconut to the bowl.
- Include 2 tablespoons of maple syrup for natural sweetness.
- If desired, add a pinch of salt to enhance the flavor.
2: Mix and Shape
- Thoroughly mix the ingredients in the bowl until well combined.
- Use a cookie scooper to portion out even amounts of the mixture.
- Roll the scooped mixture into 18 balls, ensuring they are evenly shaped.
- Place the formed balls on a plate or tray lined with parchment paper.
3: Freeze for Prep
- Transfer the plate with the coconut balls to the freezer.
- Allow the balls to chill in the freezer for about 30 minutes.
- This step is crucial to prevent coconut shreds from detaching and mingling with the melted chocolate.
4: Chocolate Coating
- While the balls are in the freezer, melt the chocolate.
- Combine your chosen chocolate with 1 teaspoon of coconut oil.
- Use the microwave, melting the mixture in 15-second intervals to prevent overheating.
- Stir the chocolate and coconut oil until smooth and well combined.
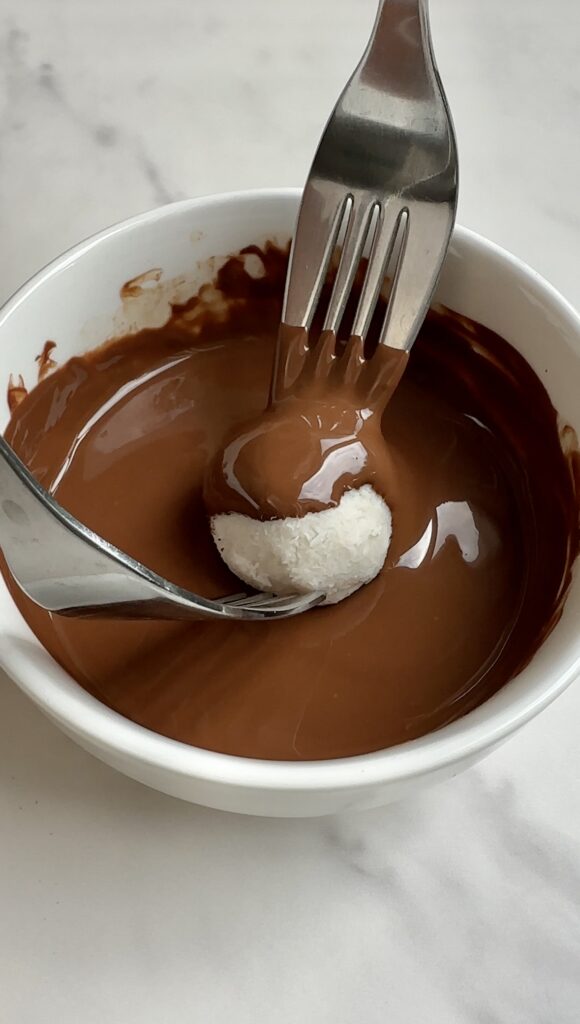
5: Dip and Decorate
- Retrieve the coconut balls from the freezer.
- One by one, dip each ball into the melted chocolate mixture, ensuring they are fully coated.
- Place the chocolate-coated balls on a plate covered with parchment paper.
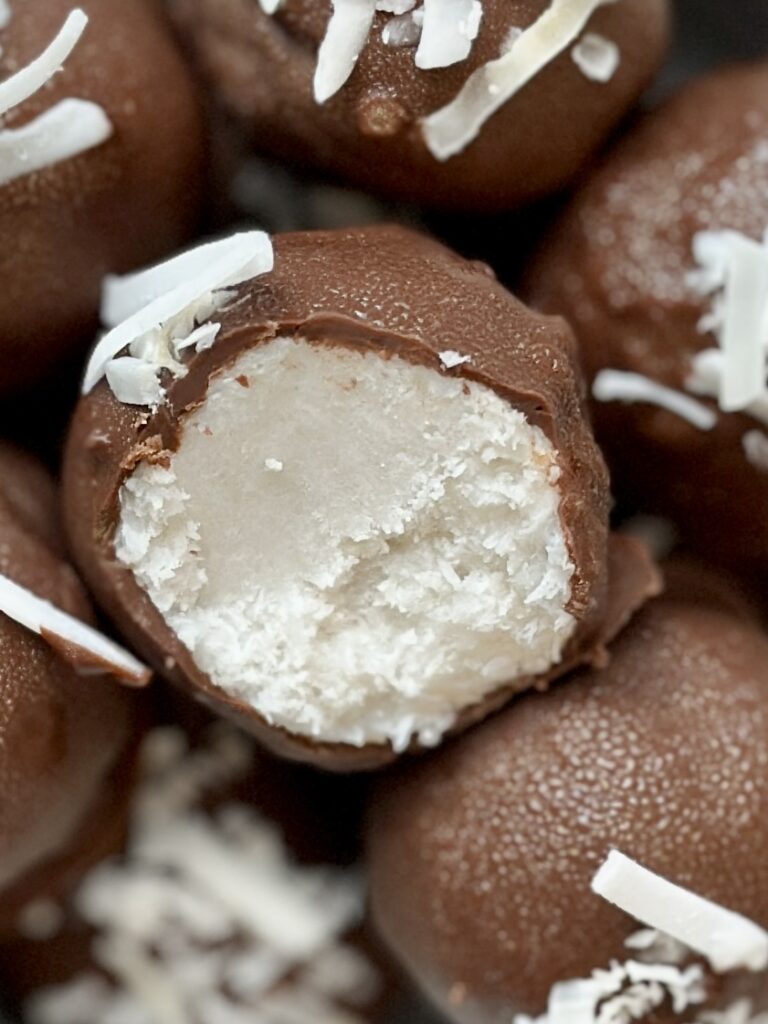
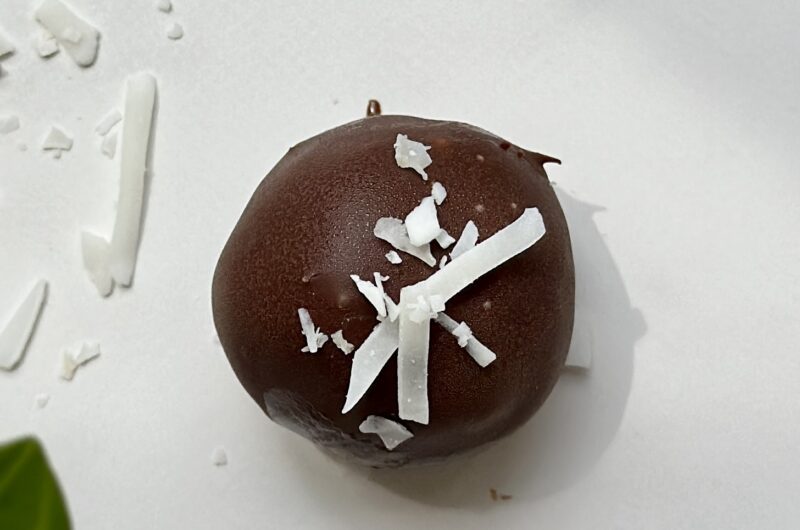
- Before the chocolate hardens, sprinkle additional shredded coconut on top to garnish.
6: Final Touches and Storage
- Continue dipping and decorating each coconut ball.
- Once all the balls are coated and garnished, place the plate in the refrigerator.
- Allow the chocolate to set and the coconut balls to chill for optimal texture.
- Your vegan coconut balls can be stored in the fridge for up to 5 days.
- For longer storage, keep them in an airtight container or tightly sealed ziplock bag in the freezer for up to 3 months.
Embracing Treats, the Smart Way
In a world of restrictions and guilt, I choose a different approach. I believe in enjoying a treat every day, but with a smart twist. By crafting healthier versions of our favorite indulgences, like these coconut balls, we can have our cake (or ball) and eat it too. I love knowing that a stash of these treats awaits in my freezer. It’s my secret weapon against impulse eating – simply take one out 30 minutes before I’m ready to dig in, and dessert is perfectly chilled and ready by meal’s end.
Balance and Moderation
Remember, the key is balance, and these Vegan Coconut Balls beautifully fit the bill. They’re a testament that a little treat every day, in a healthier form, can bring immense satisfaction. So, go ahead and relish your dessert moments, guilt-free. With these coconut-infused delights, you’re not only savoring each bite but also nourishing your body with goodness. Enjoy the pleasure of every moment, one coconut ball at a time.
Try other healthy dessert options that are sure to hit the spot!
Coconut Banana Bread with Coconut Cream
Vegan Coconut Balls
Course: DessertCuisine: AmericanDifficulty: Easy18
servings30
minutes124
kcalIngredients
150 grams coconut cream (heaping 1/2 cup) – Keep the full fat coconut milk can in the fridge overnight to separate the cream from the liquid part. You will only use the thick cream part.
2 tablespoons maple syrup
200 grams unsweetened thinly shredded dry coconut (approximately 2 cups)
pinch of salt (optional)
100 grams dark chocolate (or your chocolate of preference)
1 teaspoon coconut oil (optional)
Directions
- Ensure the full-fat coconut milk can has been refrigerated overnight, allowing the cream to separate from the liquid.
- Scoop out the separated cream part of the coconut milk and place it in a mixing bowl.
- To the bowl, add 2 tablespoons maple syrup.
- A pinch of salt (optional)
- Now add unsweetened shredded coconut to the bowl.
- Thoroughly mix the ingredients in the bowl until well combined.
- Use a small cookie scooper to portion out even amounts of the mixture.
- Roll the scooped mixture into 18 balls, ensuring they are evenly shaped.
- Place the formed balls on a plate or tray lined with parchment paper
- Transfer the plate with the coconut balls to the freezer. Allow the balls to chill in the freezer for about 30 minutes. This step is crucial to prevent coconut shreds from detaching and mingling with the melted chocolate.
- After 30 minutes, melt the chocolate. Combine your chosen chocolate with 1 teaspoon of coconut oil. Use the microwave, melting the mixture in 15-second intervals to prevent overheating. Stir the chocolate and coconut oil until smooth and well combined.
- Dip each ball into the melted chocolate mixture, ensuring they are fully coated. Place the chocolate-coated balls on a plate covered with parchment paper.
- Before the chocolate hardens, sprinkle additional shredded coconut on top to garnish.
- Place the plate in the refrigerator and allow the chocolate to set.
- Your vegan coconut balls can be stored in the fridge for up to 5 days.
For longer storage, keep them in an airtight container or tightly sealed ziplock bag in the freezer for up to 3 months.
Please be aware that the information provided with this recipe is intended solely for general informational purposes. While we have tried to accurately test this recipe and present precise measurements and instructions, individual results may vary due to differences in ingredient types, cooking equipment, or preparation techniques.The nutritional information accompanying this recipe is not intended as dietary or medical advice. For any specific health or nutritional inquiries, please consult a registered dietitian or healthcare professional. We disclaim any liability for inaccuracies or misrepresentation of the provided information. We encourage users to approach this recipe with a mindful understanding that cooking is both an art and a science, and to use their best judgment in the kitchen.
Nutrition Facts
18 servings per container
- Amount Per ServingCalories124
- % Daily Value *
- Total Fat
11g
17%
- Total Carbohydrate
6.5g
3%
- Protein 1g 2%
* The % Daily Value tells you how much a nutrient in a serving of food contributes to a daily diet. 2,000 calories a day is used for general nutrition advice.